Best Plotter Parts in Jalandhar
Best Plotter Parts in Jalandhar. In the bustling city of Jalandhar, Garg Computer stands tall as a reputable supplier of plotter parts, catering to the needs of various industries and individuals alike. Through a meticulous examination.
Understanding Plotter Parts
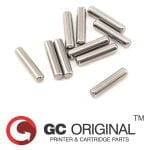
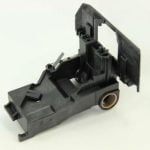
Before we embark on our journey to explore the best plotter parts in Jalandhar, it’s imperative to grasp the significance of these components. Plotter parts encompass a wide array of components essential for the smooth operation of plotters.
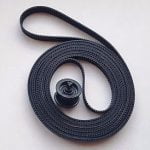
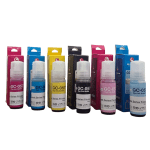
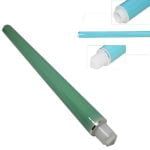
which are integral devices used for printing vector graphics. These parts include printheads, belts, ink cartridges, paper feeders, and various other components crucial for optimal performance.
Garg Computer: A Beacon of Excellence
Garg Computer has emerged as a prominent name in Jalandhar’s landscape, renowned for its commitment to delivering top-quality plotter parts. With a rich inventory and a dedication to customer satisfaction, Garg Computer has garnered acclaim for its reliability and efficiency in meeting diverse requirements.


 Garg Computers: A Name Synonymous with Genuine Products:


 In the realm of inkjet printing, Garg Computer emerges as the unrivaled destination for the best printer parts in Jalandhar. From reliable printheads to genuine ink cartridges, Garg Computer’s commitment to quality, extensive inventory, competitive pricing, and expert guidance position it as the go-to choice for businesses and individuals seeking excellence in every print. Step into the future of printing with Garg Computer and experience a world where precision meets innovation. Best Inkjet printer parts in Jalandhar.